Thousands of courses for $10 728x90

الجمعة، 1 فبراير 2019

Military Members, Vets and Spouses Can Attend This Virtual Job Fair Feb. 7

Military service members, veterans and spouses can attend this job fair without ever leaving home.

Hire Heroes USA is holding a free virtual career fair on Feb. 7 between 10 a.m. and 3 p.m. EST — aka between 1000 and 1500 hours.

According to the site’s FAQ page, participants only need a computer and internet access, as employers will communicate via online chats. Updated versions of Google Chrome or Firefox are recommended for viewing and hearing employer presentations.

Attendees can register for the event on the site and upload their resumes, then search the 25 participating employers by location and positions available.

When they find a company of interest, job seekers can apply for a position or sign up for chat sessions to ask questions and learn more about the company.

Employers and attendees can also request private chats to discuss specific opportunities. Employers may offer video one-on-one chats, but these sessions are not required if job seekers don’t have access to video conferencing.

The site encourages job seekers to prepare questions to ask in the chat room and develop an elevator pitch for private interactions with potential employers.

If this virtual fair isn’t for you, check out our list of other employment resources for veterans and read additional tips from veterans about finding a civilian career.

Tiffany Wendeln Connors is a staff writer at The Penny Hoarder.

This was originally published on The Penny Hoarder, which helps millions of readers worldwide earn and save money by sharing unique job opportunities, personal stories, freebies and more. The Inc. 5000 ranked The Penny Hoarder as the fastest-growing private media company in the U.S. in 2017.

The Penny Hoarder Promise: We provide accurate, reliable information. Here’s why you can trust us and how we make money.


source The Penny Hoarder http://bit.ly/2MIw8Gv

Optimal Blog Design: 11 Elements and Examples of Blog Layouts and Designs

design

Are you trying to create the perfect blog design?

You know, one that encourages people to read your content and share it on the social web and, most importantly, gets high rankings in the search engines?

If you are trying to create a popular blog, here are the 11 essential elements (and examples of each) that you need within your blog design.

Element #1: Threaded comments

There are a lot of commenting systems out there. From Disqus to Facebook comments, the options are endless. But do you know what the best commenting system is?

Threaded comments like this.

Threaded Comments

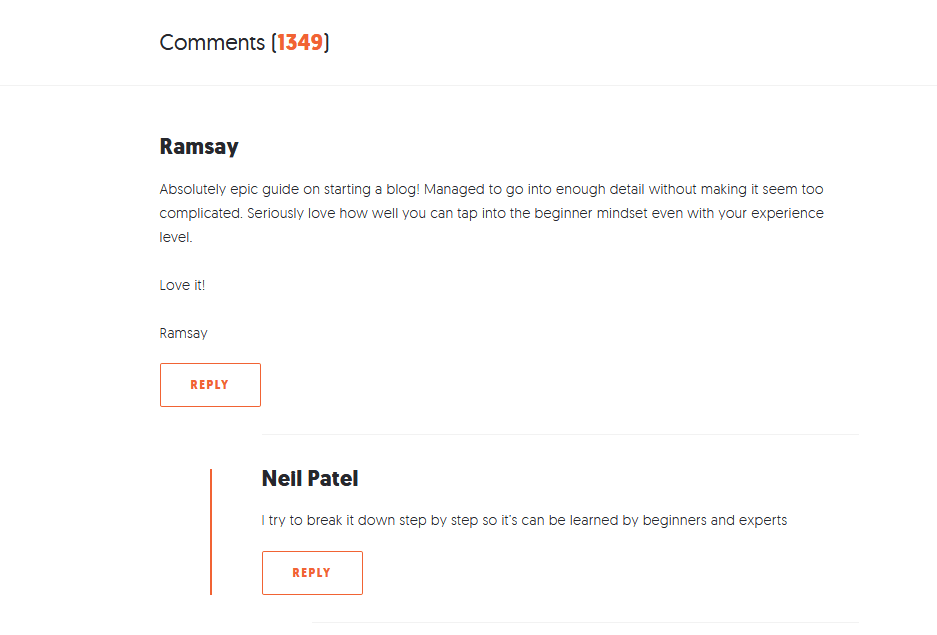
“Why?” you may ask. Because threaded comments will typically increase the number of comments you receive per post by 16% to 33%. The more comments you receive, the more text you’ll have on each page. And the more text you have on each page, the more long tail keywords you will rank for.

Stick with threaded comments no matter what. Even if you have an active Facebook community, don’t use Facebook comments. Facebook owns that content, and it won’t help you get more search engine traffic.

Element #2: Snippets

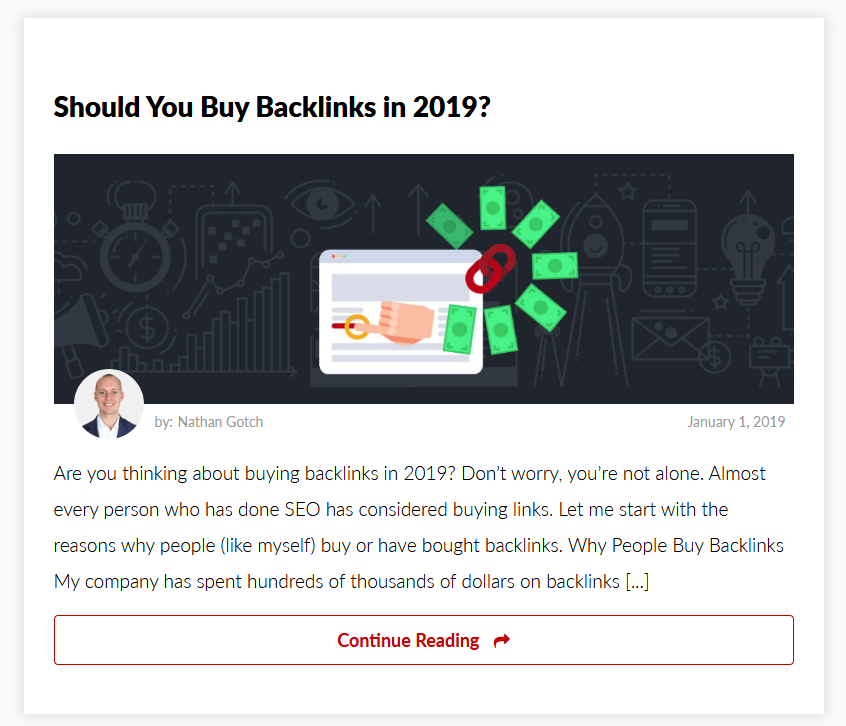
Have you noticed that I don’t list the full post on the Quick Sprout’s blog homepage? I only show you a few paragraphs (a snippet), which prompts you to respond to the call to action “click to continue” to read the rest of the post.

You want to have snippets instead of full posts because of two main reasons:

  1. People have short attention spans – you have an attention span of 8 seconds, and so do your readers. By only showing them snippets, you allow your readers to choose from a number of posts. They will scroll until they find a post that piques their interest, and then they’ll read it.
  2. Duplicate content – if you place your full post on your homepage, you will create duplicate content, which will hurt your search rankings. This is another reason why you want to use snippets.

On your homepage, you can test the call-to-action text to find out which version maximizes the number of people clicking through and reading your post. I’ve tested the phrases:

  • Continue reading
  • Read more
  • Click to continue
  • Continue

The text “click to continue” outperformed the other variations by at least 10%. You should, of course, test this as what works on my blog may not work on yours.

For example, I noticed that GotchSEO uses “Continue Reading” on is blog and I would bet that he has tested many alternatives to find what performed best for him.

Snippets

Element #3: Scrolling social buttons

I’ve tested a lot of social buttons on Quick Sprout. I have had buttons at the beginning of the posts and at the end, and I have asked people to tweet about a post from within the blog post. The one design that continually outperforms the others is scrolling social buttons.

Plugins like Sharebar and Flare have increased my social traffic by 27%.

Backlinko uses a nice share bar that is clean and scrolls nicely for an example.

Social Buttons

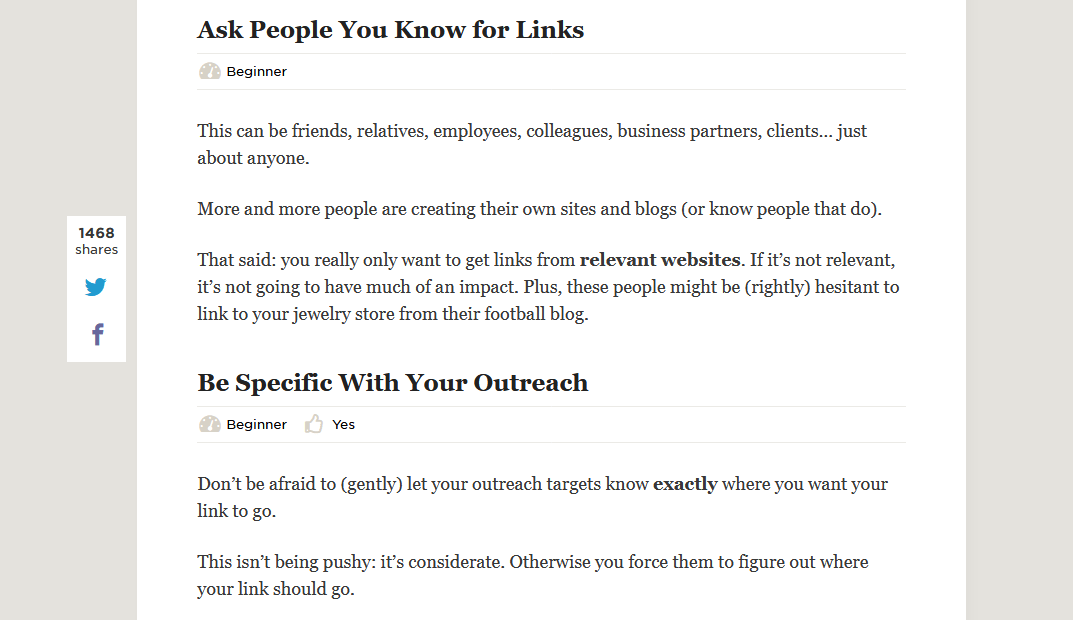
When using a scrolling social plugin, make sure you limit the number of options to three. In other words, pick the three most popular social networks your readers are using. For me, it’s Facebook, Twitter and Google Plus.

If you add too many options, in my experience, it will decrease your social traffic.

Element #4: 11-point font size or larger

About a month ago, I wrote a blog post on how text size affects readability.

I did a test on 13 blogs, and I found that by increasing font size from 8 to 9, I was able to increase the time readers spend on site by 13 seconds. I saw another 8-second increase when I went to size 10. And I gained another 6 seconds by going to font size 11.

I have noticed that the Smart Passive Income Blog uses some nice large fonts in their headings and content. Check them out for another example I like.

Large Font Size

Granted, this only works if you are using a readable font type like Arial or Times. If your font type is hard to read, increasing the size won’t help much.

When in doubt, use a bigger font size.

Element #5: A sidebar on the right

Have you noticed that some blogs have their sidebars on the left? Or even worse, some have two sidebars? I’ve played around with different layout types, and I’ve found that the optimal layout is to have your content on the left side and one sidebar on the right side.

This way people can focus on reading your content, yet you’ll have the flexibility of promoting other things within your sidebar. Just make sure the main content area takes up at least 60% of your design. People come to blogs to read, so you don’t want to distract them with other elements.

If you want to place your sidebar on the left-hand side, you can. But what I’ve found is that it typically decreases the number of people who read your content by 15% to 25%.

I prefer the look of a blog where a sidebar is on the right side, but it tends to convert better when it is on the left.

Here’s what I learned…

When you place your sidebar on the left-hand side, you will get more email opt-ins, and more people will read your bio and do whatever else you promote through your sidebar. But you will also get fewer people to read your content.

I’ve found that having a sidebar on the left side of Quick Sprout causes a 9% drop in people reading the blog posts. On the other hand, it increases the number of sidebar opt-ins by 13%.

Overall, I decided to place my sidebar on the right-hand side even though it generates 13% fewer opt-ins.

Why did I do it anyway? Because it increased the number of blog post reads by 9%. In the end, the purpose of a blog is to educate you through content… so why would I take that away?

Here is another simple, yet effective, example from the A Better Lemonade Stand Blog. They use their right sidebar to display their featured posts and offers in a way that is very user friendly and that does not take away from their content.

Right Sidebar

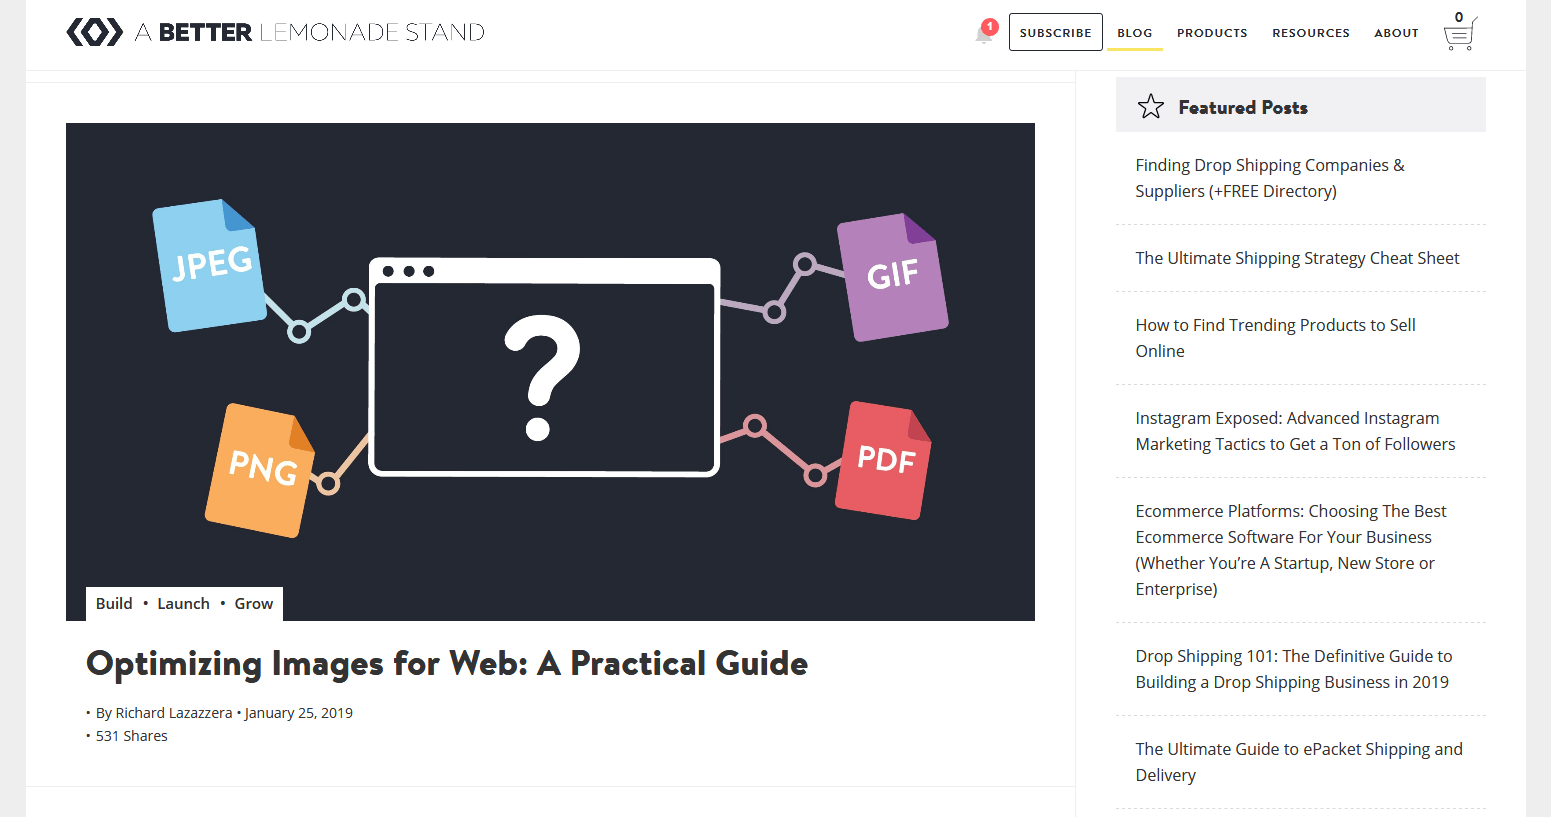
In general, you should consider keeping your sidebar on the right-hand side even though it will cause fewer conversions. People are coming to your blog to read, so your primary goal should be to make your content as easy to read as possible.

Although I recommend using a sidebar, you don’t need one on each of your pages. For example, the homepage of Quick Sprout doesn’t have a sidebar.

Consider not having a sidebar on the pages you are trying to improve conversions on or make money from. Why? Because it makes people focus their attention on the area you want—the area where you make money.

So, for my “money” pages, I tend to have no sidebars.

Also, for any page that has a defined goal, you should consider removing unnecessary distractions such as a sidebar.

Element #6: Your bio

Whether you have a corporate blog or a personal blog, you want to build a connection with your readers. Without that personal connection, people are less likely to comment or buy from you.

One way you can create a bond with your readers is by opening up. Within your sidebar, put a short bio of yourself, and then link it to your full bio.

Marie Forleo does a nice job of presenting her bio in her left sidebar (however, as mentioned above, I would suggest putting you sidebar on the right)

Bio Box

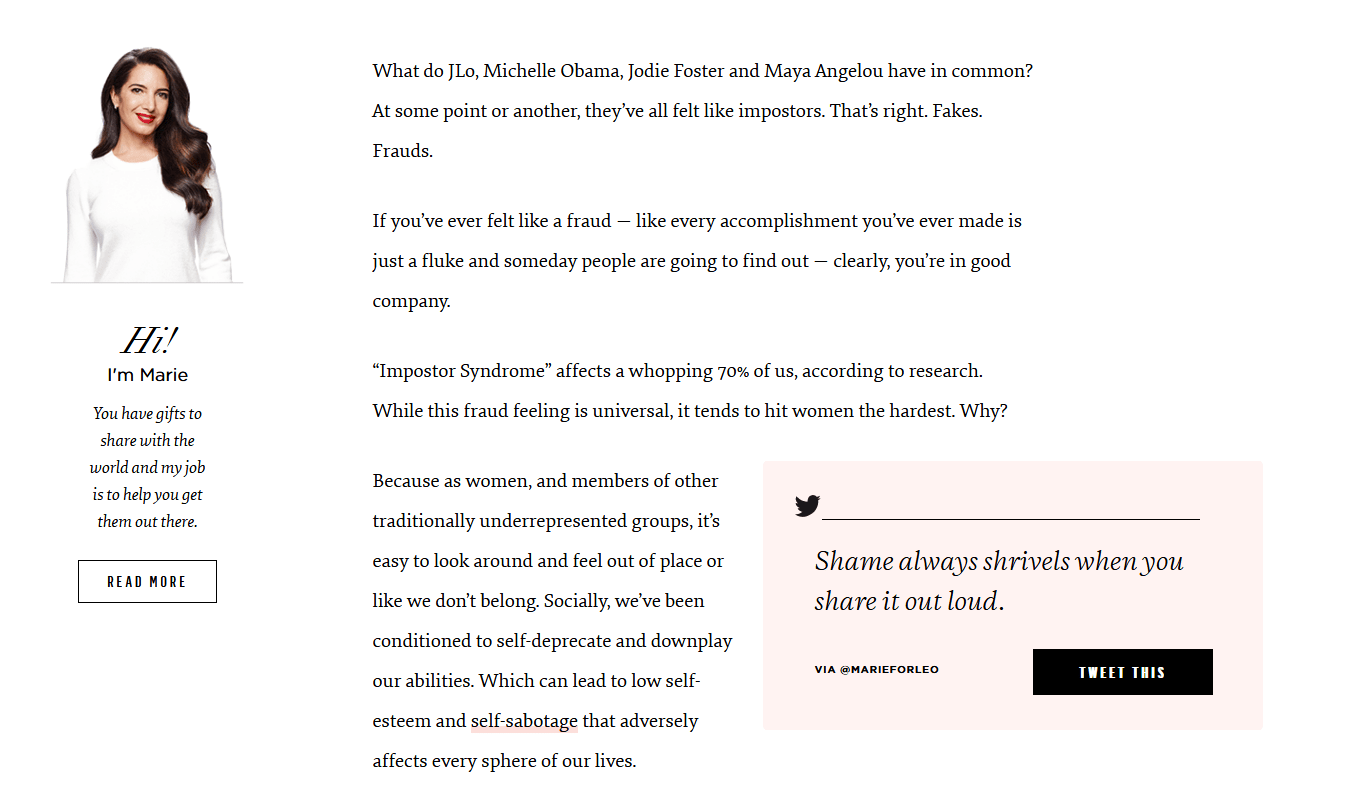
If you have a corporate blog, put the bio of your founders or the team that manages the blog in the sidebar. Make sure you include a picture right above your bio. People need to see you in order to connect with you.

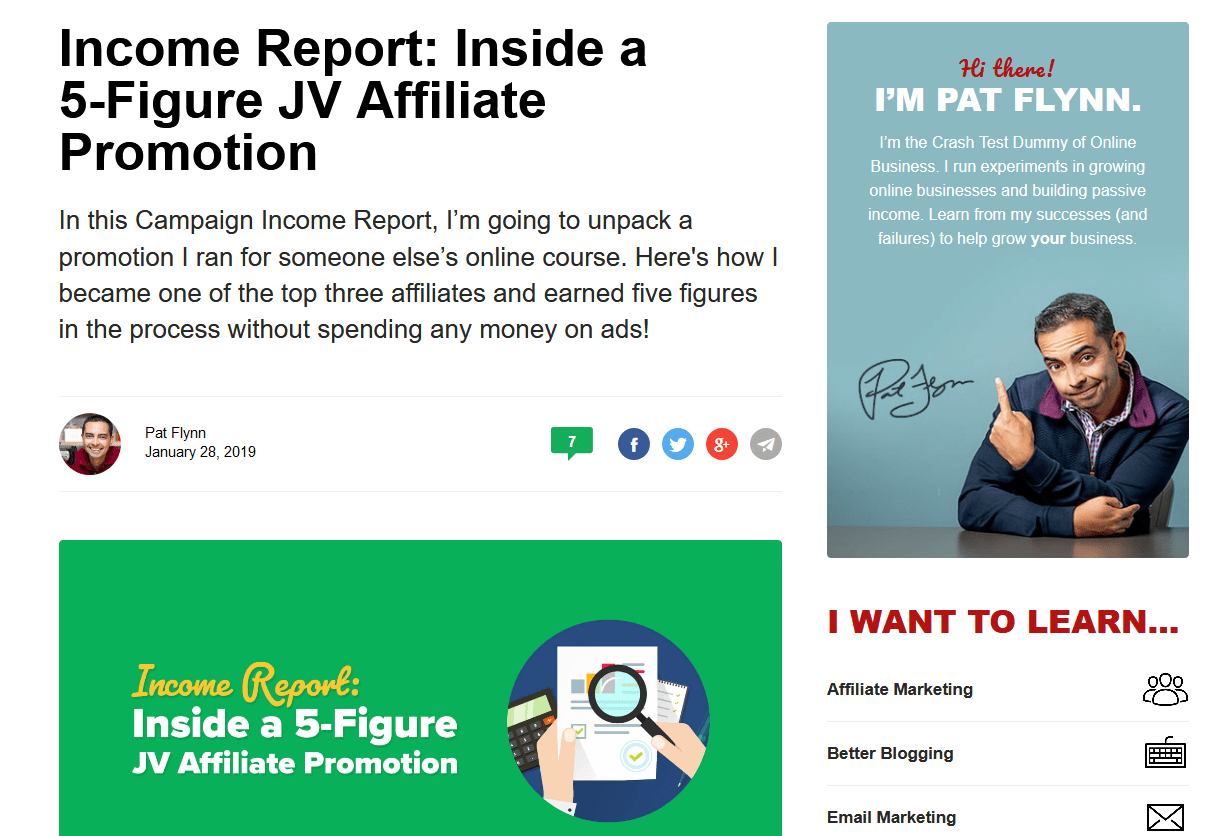
Element #7: Email subscription options

I’ve mentioned this before: collecting emails is one of the most important things you need to do if you want to grow your traffic. Your options vary from an opt-in at the top of your sidebar to a pop-up if you want to be more aggressive.

I like the way that FireNation has their email box setup as a popup. It really grabs your attention and makes you want to input your email. Who doesn’t want financial freedom??

Email Subscription Box

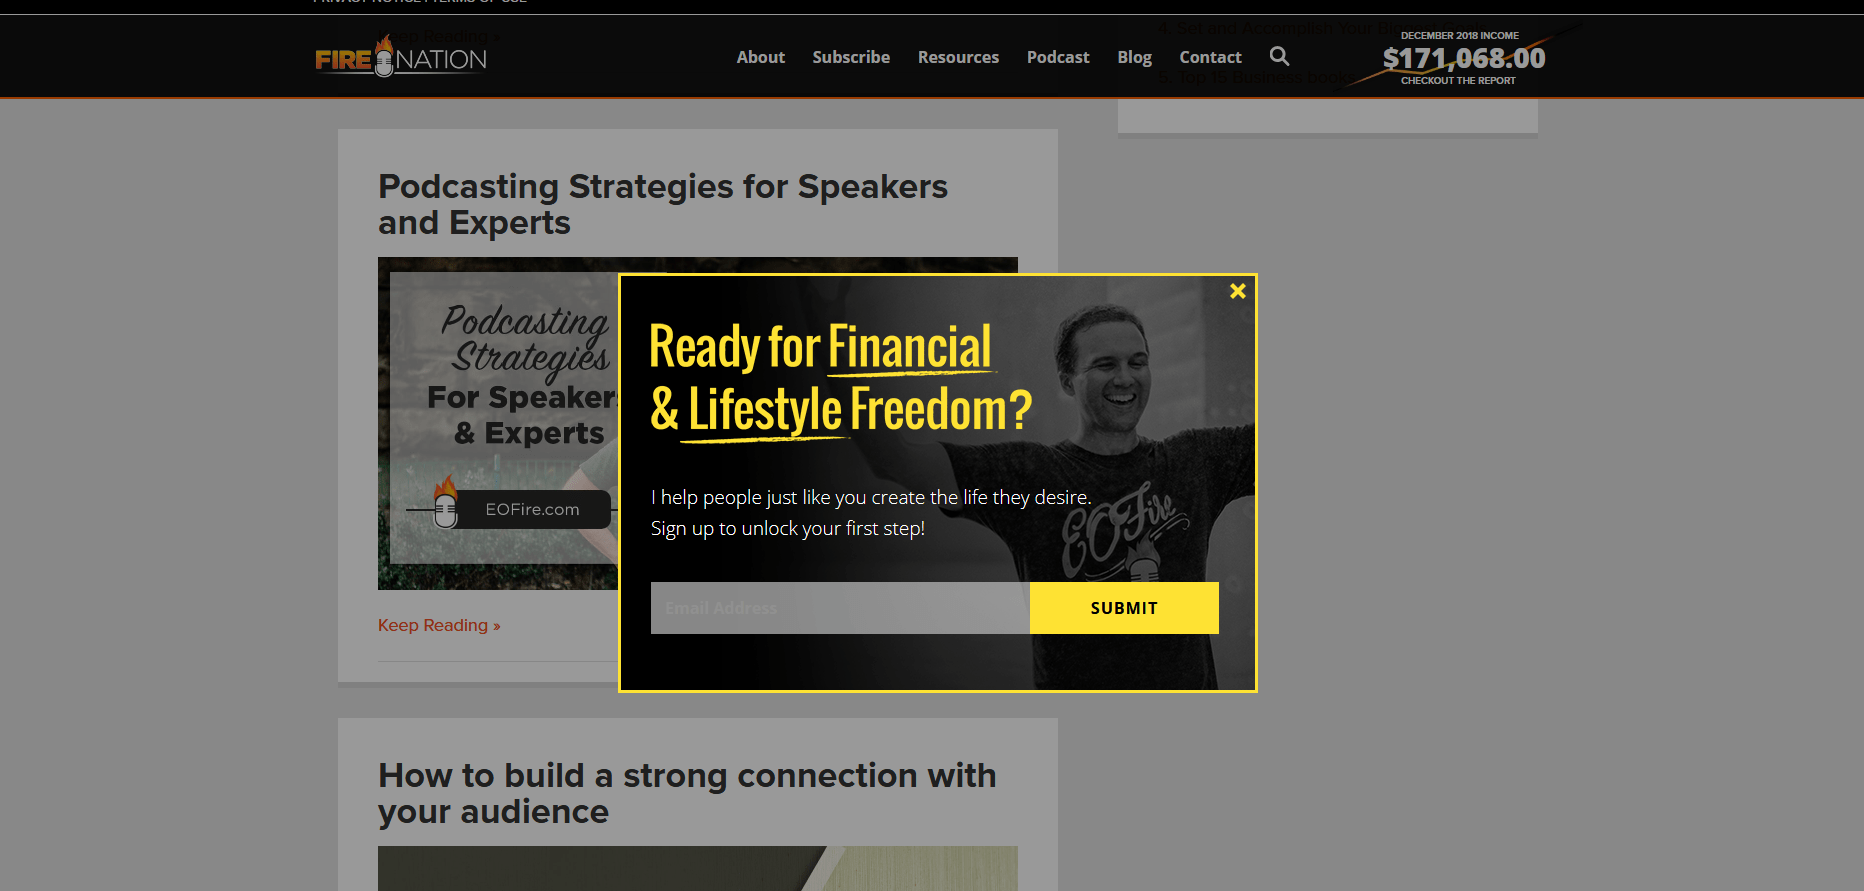
You’ll also notice that by offering a free e-book or a course, you’ll get a good number of email subscribers. You will also see that if you ask only for people’s email addresses instead of their names and emails, you’ll get roughly 10% more opt-ins.

For the month of June, emails made up 28% of Quick Sprout’s overall traffic. That’s not too shabby. Those users also generate the majority of my comments and social shares.

No matter what, start collecting email addresses of your readers. That way you can notify them when you publish a new blog post.

Element #8: Most popular widget

Can you guess what the most-clicked area on the blog is? It’s actually not the content.

Within my sidebar is an area that showcases all of my guides, my most popular posts, and my current hits.

That’s the most popular clicked-through area on the blog. Not only does it help drive traffic to my most important posts, but it also helps with search engine rankings because of the way I cross-link.

Check out how I Will Teach You To Be Rich uses their right sidebar to display their guides and most popular posts in the screenshot below.

Popular Posts

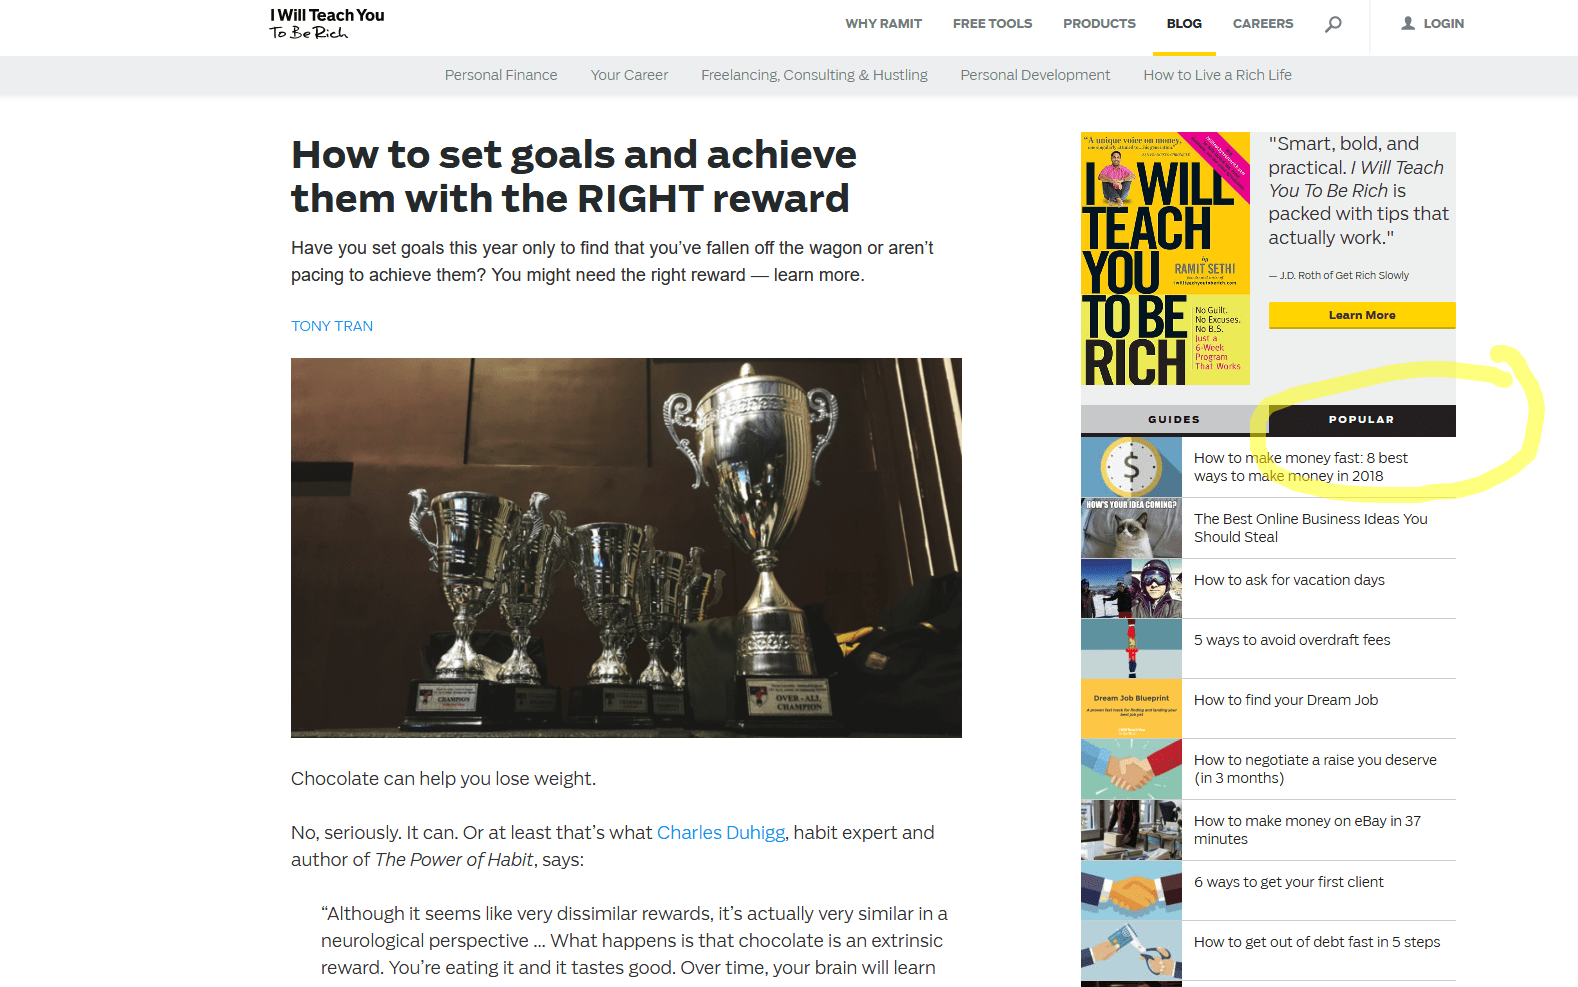
You too can have this on your blog if you use the popularity contest plugin. You’ll have to get a developer to modify it so that you can have tabs similar to mine.

Element #9: Yoast SEO plugin

This is probably the simplest tweak you need to make to your blog. In the long run, you’ll notice that it will help your search engine traffic grow by leaps and bounds.

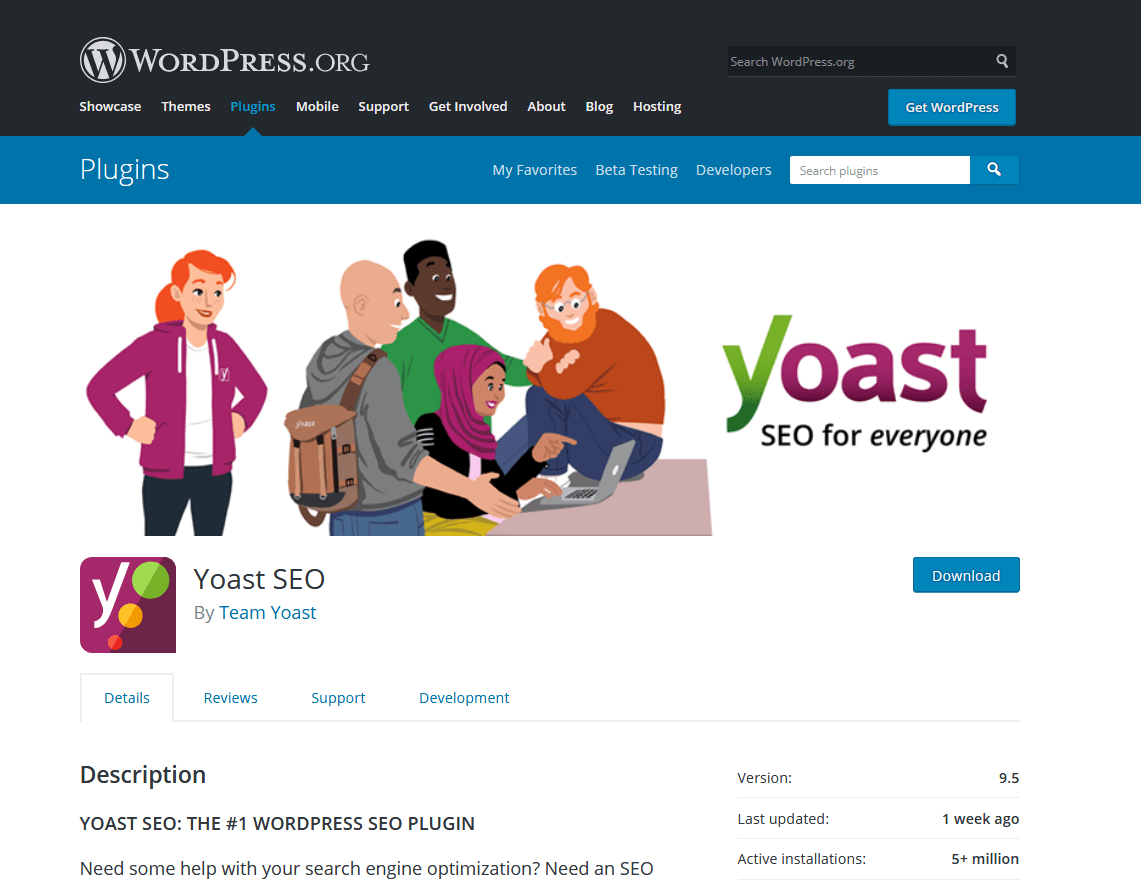
If you are running a WordPress blog, download and install the Yoast SEO plugin. If you are not running a WordPress blog, you’ll have to optimize your site for search engines manually by following the steps in this post.

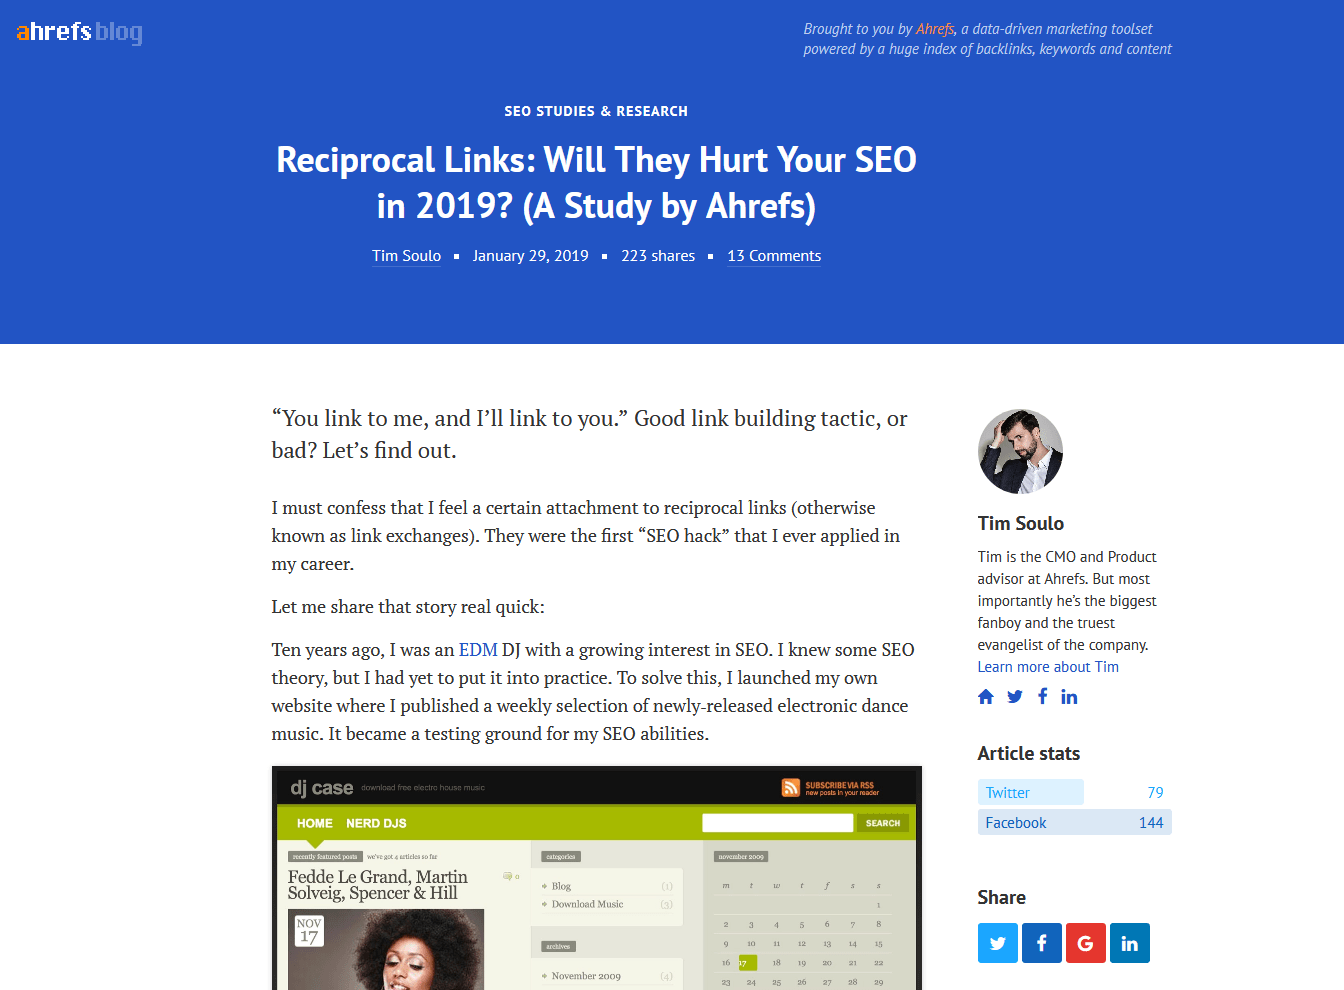
Element #10: Keep your color scheme and design simple

Different colors have different meanings. Make sure you pick the colors for your blog carefully. They matter, and not just from a psychological standpoint. Some colors make it easy for your readers to read your content, while others don’t.

For example, red text on a black background isn’t as easy to read as black text on a white background.

Keep things simple by creating as much white space within your blog design as possible, and use black for your text color. There’s no need to make your design complex because at the end of the day people are coming to read your content. Your goal should be to make your content readable.

The ahrefs blog does a good job of this and keep an ultra clean blog design that is easy to read on any device.
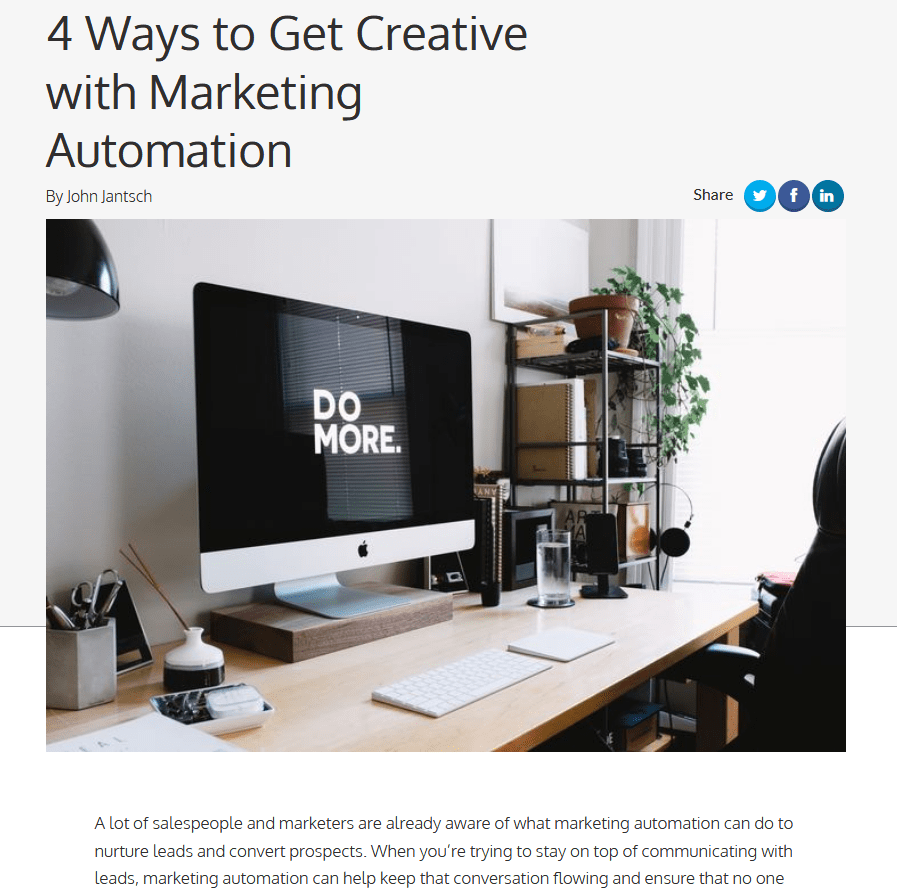
Simple Blog Color Scheme

Element #11: Images

Have you noticed that I place an image at the beginning of every blog post? I didn’t always do that, but from testing, I found that it increases the number of people who click through from my blog homepage to a post.

Can you guess by how much? A whopping 37%. All from just one image. If the image you are using is appealing, you’ll see good results. If the image you use sucks, fewer people will click through.

I prefer using stock photography images. You can also use royalty-free images, but the quality of those images typically isn’t as high.

The Duct Tape Marketing Blog usually uses some stellar images in their posts that I bet improve their click through rates as well.

Blog Post Image

Infographic: The blue print of an optimal blog design

For a visual roadmap I have also created this infographic that breaks down the blueprint of an optimal blog design. Use this as a guide to improve and optimize your blog.

The Blueprint of an Optimal Blog Design

Conclusion

Designing a blog that can boost your traffic isn’t that hard. All you have to do is follow the steps above. If you do, you should see an increase in traffic.

If you don’t have time to make all of the adjustments above, start with installing a scrolling social plugin and threaded comments. Those two simple changes will increase your social media traffic and search traffic in the long run.

If you implement the advice provided in this post and the infographic above, you’ll see an increase in your readership.

Trust me, it works. I’ve tested a lot of these design elements on Quick Sprout, and the tweaks helped me grow my readership to the size it is today.


Source Quick Sprout http://bit.ly/2Bg3bxb

How to Transfer Your Website to Shopify

Without a doubt, Shopify is our recommended ecommerce tool.

But what if you’re already on another ecommerce tool and want to make the switch?

I put together this guide to help you transfer your store to Shopify in 4 easy steps. In mapping out these steps below, I’ve assumed a few things:

  • You already have a store built that’s generating revenue.
  • You want to keep that revenue going while you build your new store.
  • You have a domain that was purchased through another domain registrar and won’t be purchasing your domain through Shopify.

Let’s dive in.

Step 1: Build Your New Shopify Site

First let’s get your Shopify store built.

During this step, don’t worry about your new Shopify store conflicting with your old store. Your Shopify store will be locked behind a password so no one can see it until you’re ready to launch your new store. You’ll control when it becomes publicly accessible.

The store will be built on a Shopify subdomain which looks like company.myshopify.com so there won’t be any conflicts with your current store. Traffic and revenue will keep coming in like normal.

We have a complete guide on how to create your ecommerce store on Shopify here.

Most likely, you’ll have to build the store yourself. That means you’ll have to add the info for each product and page from your old store by hand. Yes, it’s definitely tedious but once it’s done, you’ll be so glad that you moved everything over. The benefits of Shopify drastically outweigh this one-time transfer.

If you’re transferring from WooCommerce, you’re in luck. Shopify does have an import process that should allow you to import the bulk of your product info into Shopify.

As you create your Shopify store, Shopify will ask you if you’re transferring stores and which platform you’re transferring from. If you select WooCommerce, you’ll see an import option in your store dashboard as soon as your store is created.

Transferring Store from WooCommerce to Shopify

There’s more info on the WooCommerce import process for Shopify here.

Is there a way to import product pages and customer info from a CSV?

Yes, but you need Shopify Plus, the enterprise version of Shopify. If you’re a larger business with lots of revenue and thousands of products to transfer over, it is possible to upload all your product info at once with a CSV. There are details on which data can be uploaded and how to organize the CSV here. I highly recommend that you also import all your historical customers and order info if you have access to Shopify Plus. Getting all your core business data in one place avoids lots of headaches with reporting later.

But this functionality isn’t part of the standard Shopify plan. If you’re a small or medium size ecommerce site, you’ll have to copy and paste all the product info into Shopify one product at a time.

Another option is to use a migration app from the Shopify App Store. Here’s one called Cart2Cart. Price is based on how many products you want to import.

Shopify also has the option to hire a store expert through its Services Marketplace to help with the transfer.

Step 2: Get Your Redirects Ready

After you get your store built, it’s time to build your redirects.

There are two major reasons to build a list of redirects when transferring your store to Shopify:

  • It will ensure that any customer using an old URL ends up on the correct page of your new site after the switch, so you don’t lose any revenue from people landing on dead pages.
  • It’ll transfer any page authority that you’ve built for Google searches to the new URLs, helping your new store rank for search results and keep your traffic from dropping after the switch.

Luckily, Shopify has an easy way to add redirects to your new store. All the redirects will go live when you launch your new store.

You can add redirects within Shopify by going to Online Store > Navigation > URL Redirects. There’s also an option to import them as a batch.

Redirects For Transferring Store to Shopify

You’ll want to create a redirect for every URL that has a different location in Shopify. For example, products in Shopify have a URL like this: company.com/products/product-name

If your old product URLs use a different URL structure, you’ll want to create a redirect for each product. Same for any other pages that have a different location in Shopify.

Check the URL path of every page and product that you create in your new Shopify store. If they’re the same as your old store, there’s nothing you need to do. If they have a new URL path, create a redirect for them.

Do I have to redirect every URL from my old site?

Not necessarily.

Here’s the rule: redirect every URL that has a clear corresponding page on the new site. 404 everything else.

What’s a 404?

That just means removing the page so that your site returns a 404 message any time someone tries to access that URL. It tells people that there’s nothing there.

A few years ago, I was very anti-404. I used to think that every single URL needed a proper redirect and I went a bit overboard on a site. Eventually, our hosting provider reached out and told us that we had too many redirects on our site, we needed to cut them down to 1,500. We had about 2,500 at the time.

They were right, we did have too many. I was paranoid about trying to help users land on the right page. I was also worried about losing any traffic from Google and I thought 404s might reduce our rankings. I was wrong on both counts.

First, users struggle a lot more with weird redirect paths than a 404. A 404 gives a super clear message: the page you’re looking for doesn’t exist. A weird redirect is really tough for a user to understand.

Second, Google prefers 404s for pages that no longer exist. It’s a clear signal for them and they don’t reduce rankings for sites that have 404s. They’ve publicly stated numerous times how they only want sites to add redirects for pages that have a one-to-one relationship.

Definitely build out your list of redirects for the pages that have changed URLs in Shopify. For everything else, don’t build a redirect and allow the page to 404 once you switch your site to Shopify.

Step 3: Go Live and Point Your Domain to Shopify

Now it’s time to go live!

It is possible to buy a domain directly from Shopify which sets everything up for you.

But I’ll assume you already have a domain with another domain registrar since you’re transferring your site to Shopify.

In this case, you’ll need to get your domain to point to Shopify so when people visit your site, they find your Shopify store.

You’ll need to log into your domain registrar and edit your DNS settings. You’ll be adding an A record and a CNAME.

Shopify has step-by-step instructions and the exact settings you need to configure here.

As soon as you save these DNS settings, your domain will start pointing to Shopify, so make sure you’re completely ready to make the switch before doing this step.

It’ll also take up to a few hours for the changes to go live completely. This is because the DNS servers of the internet don’t update instantaneously. It takes a while for them all to spot new changes. It’s very normal for you to see the change but for someone else to still get your old site. Nothing’s broken — it’s just taking some time for the new DNS settings to reach everyone.

If you have a smaller ecommerce site and you’re not too worried about having a few hours when visitors are routed to both sites, feel free to do the switch any time.

If you want a cleaner cut between the two sites, the most popular method is to do the switch during your lowest-traffic time. For most sites, it’s usually in the middle of the night on a weekend. For major sites with tons of revenue and users, that’s typically when “maintenance windows” occur. For most of us, picking the middle of the night during the week works really well. This causes the least disruption and is standard practice these days.

My advice on when to do the switch:

  • If the stakes are high and you have a lot of revenue coming in, do the domain switch in the middle of the night even though it’s inconvenient.
  • If you’re not too worried about the switch, do it on a Monday morning. That gives you all weak to fix gaps or put out any fires that come up with the new site. As a general rule, you don’t want to release anything on Friday because if something goes wrong, you’ll spend all weekend trying to fix it.

What happens if something goes horribly wrong?

Keep your old ecommerce site live during the transition. The domain and all your URLs will point to your new site, but you want the old stuff on standby in case something critical breaks during the transition.

What if new orders stop processing?

What if traffic plummets and doesn’t come back?

What if conversions fall off a cliff and people stop ordering even though everything technically still works?

There’s an endless list of weird scenarios that could seriously impact revenue and your business. The odds are slim that any of these will pop up, but you want a foolproof backup plan just in case.

If something horrible happens, your backup plan is to point your domain back to your old site. It’ll take a few hours for all the changes to reverse themselves but they will reverse.

I like to keep my old site for at least 30 days to make sure everything is healthy.

Step 4: Shut Down Your Old Ecommerce Site

Once everything has been switched over and you have at least 30 days of healthy activity on your new ecommerce site, it’s time to take the old ecommerce site down entirely.

Skipping this step can cause problems later on.

I personally find it easy to neglect infrastructure cleanup items. For the time being, it doesn’t cause problems. But sooner or later, I get hit with a random fire that I’m not expecting. On one site I was managing, I found old ecommerce checkouts that were still live years after they should have been shut down. Occasionally, a customer did manage to find the page themselves and use it. This created all sorts of fulfillment problems.

Not to mention the fact that you’re probably paying for another ecommerce tool at this point. Better to get it shut down and reduce your monthly software expenses.

This step should be pretty easy. Once you cancel your subscription on your old ecommerce software, that company should turn everything off for you. Other than logging into your old account and hitting the cancel button, there shouldn’t be anything else that you have to do.

Then you’ll be completely transitioned to Shopify without any loose ends to worry about.


Source Quick Sprout http://bit.ly/2S1QLmJ

Dear Penny: I Make Way More Than My Boyfriend. How Do We Combine Finances?

Dear M.,

If your boyfriend feels threatened by the fact that you make more money than him in our modern era, he can take a hike.

But don’t let me jump to conclusions and/or your defense right away. Let’s assume that your boyfriend is worried that he won’t be able to contribute enough to your household expenses.

To figure out how to combine finances when you’re living in two very different financial worlds, you need to stop thinking of your relationship as a 1 + 1 equation. Sure, emotionally and physically, it’s 1 + 1. But financially, you’ve got to work out the percentages. Splitting your expenses half and half is just not going to work.

Instead, try this method I learned from my colleague Lauren Sieben: Add both your salaries together, and then determine how much you each contribute to the overall pie.

I’ll give you an example. Say you make $50,000 per year before taxes, and your boyfriend makes $25,000. Together, you make $75,000 each year. He makes one-third of that total, whereas you earn two-thirds of the total. Therefore, he’d contribute about 33 percent of your household expenses and savings goals, and you’d contribute about 66 percent. To look at it another way: He’d kick in one-third of the rent each month, and you’d pay the remainder.

This may not be the most ideal setup for your relationship, but it’s one example to get the conversation started. When it comes down to it, you can combine finances any which way that makes you both comfortable — emphasis on both.

Be prepared to discuss combining your finances several times (before you get engaged, ideally) before agreeing on a plan. Rushing to pick a method without buy-in from both partners can lead to resentment. That being said, there’s no reason you can’t switch up your method if you figure out a better one or if one of you experiences a substantial career change.

Not sure how to discuss money matters with a partner? Write to Dear Penny at https://www.thepennyhoarder.com/dear-penny/

Lisa Rowan is a personal finance expert and senior writer at The Penny Hoarder, and the voice behind Dear Penny. For more practical money tips, visit www.thepennyhoarder.com.

This was originally published on The Penny Hoarder, which helps millions of readers worldwide earn and save money by sharing unique job opportunities, personal stories, freebies and more. The Inc. 5000 ranked The Penny Hoarder as the fastest-growing private media company in the U.S. in 2017.

The Penny Hoarder Promise: We provide accurate, reliable information. Here’s why you can trust us and how we make money.


source The Penny Hoarder http://bit.ly/2RwOWJv

18 Short Task Sites for Making Money from Home

If you have a little one at home — you know how difficult it can be to get things done. But just because you have a household filled with chatter and unpredictable schedules, doesn't mean that you can't work-from-home. In fact, short tasks, sometimes called, microtasks are the perfect way for busy moms to earn […]

The post 18 Short Task Sites for Making Money from Home appeared first on The Work at Home Woman.


Source The Work at Home Woman http://bit.ly/2pLWzlT

Some Thoughts on Marie Kondo

Over the last few weeks, I’ve heard from a few readers who have asked me whether or not I’ve watched Tidying Up with Marie Kondo, a Netflix series that debuted early this year. I have actually watched a few episodes (but not the full season), and what I found is that Kondo is a charming embodiment of the principles found in her bestselling book from a few years back, The Life-Changing Magic of Tidying Up.

Kondo’s focus is on decluttering one’s home using a system she calls the Konmari method. Basically, it involves going through categories of things rather than going room by room and asking yourself whether this category of item sparks joy in your life and, if so, which elements of that category spark joy. If it doesn’t spark joy, you should probably get rid of it.

For example, you might consider all of the DVDs and Blurays in your home as a “collection.” Which ones truly spark joy in your life, meaning that the thought of watching them again makes you genuinely feel happy and excited inside? Keep those. If you don’t genuinely have that feeling, you should get rid of the item.

You just simply go through that same process with each type of item in your house. Clothing. Kitchen tools. Board games. Books. Everything. The idea is that if you later decide that something is important to you, you can likely purchase it again.

There are a number of principles that this strategy has in common with good personal finance that are well worth highlighting here.

The Konmari method is a brilliant way of getting rid of clutter. It genuinely works if you take it to heart and apply it seriously. Just go through a single collection of things in your home that feels cluttered. For each item, ask yourself if this item genuinely sparks joy for you. If it does, keep it. If it doesn’t, toss it. If you’re on the fence, toss it – or, at the very least, put it in a box somewhere else, label it with a “sell by” date, and then if you never touch it between now and then, you can be sure that it’s okay to sell it.

Aim to have small collections of things. If you find that your collection of a particular item is exceeding the space you have set aside for it, that’s a perfect collection to tackle. Kondo often recommends keeping a collection at 30 items or less, which is a good target.

My own experience with this strategy has been extremely positive, though it’s mostly been small in scale. I’ve used her principles to downsize several of my own collections that I felt were becoming excessive in the past few years, and I have several upcoming projects along those lines. Each time, it has felt incredibly good to eliminate a lot of things from my possession that didn’t bring me any personal value.

And there’s financial value to be had, too.

The decluttering process, if taken slowly and thoughtfully, can produce some real financial returns while also clearing up your living space. As you’re decluttering, you’re probably getting rid of things that have financial value. Don’t just toss them unless they’re truly junk!

Instead, hit up your local buy/sell/trade group on Facebook or Craigslist and sell off some of those items. If an individual item has significant value, take it to eBay and try to get that full value. If you’re doing this in the winter or early spring, culminate all of this purging with a big yard/garage sale.

This takes more time than just tossing the items, but it offers the potential for at least some sort of return on the items.

If you find that they’re not selling, donate the items. If you can, get a receipt for the donation so you can deduct it from your taxes; if you can’t, that’s still better than just throwing the items in a landfill.

A decluttered living space often means more empty space than you thought, which means that it’s easy to move to a smaller living space with lower expenses, which saves further money. In the end, you should theoretically wind up with a living space with a lot less stuff in it. It’ll feel empty. That’s a good thing, because it’s an indication that you can afford to downsize.

It’s important to note here that downsizing your home is one of the most effective methods there is for saving a ton of money. If you can move into a smaller home or apartment, you’re simultaneously cutting down on your rent/mortgage, your utilities, and your insurance, and you’re often able to also cut down on commuting costs if you’re able to move closer to work. That can have a profound positive impact on your finances, and it’s something that’s opened up for a lot of people by using the Konmari method.

Where the method struggles, however, is with overconsumption. This article fairly accurately dives into one of the issues with her methods:

“It’s very hard to switch our mental tools, which is why lots of people, once they’ve done that clearing up and feel good about it, think: ‘I’ve got all this space on my shelves. What do I do?’ And they go buy more.”

The key thing is to remember that once you’ve actually pared down your possessions to the things that are meaningful, that doesn’t mean that you now have a bunch of empty space to fill and should fill it. Rather, it means that you should be careful to avoid getting back into that situation to begin with where decluttering seems necessary.

One good approach to this is to adopt a “one in, one out” policy with each of your collections. If you acquire a new book, then that means an old one has to go. If you’re gifted a new book, read it and then choose one of your books – either this one you just read or an old one – and pass it along to someone else. The goal is to stop increasing the total volume of the stuff you possess and instead just stick with the stuff that’s meaningful.

I am trying to do this with some of my possessions. If I’m considering buying something new, then I have to decide beforehand on something that has to go away. For example, I have a particular area where I store my board games and if I want to add another one and that space is full, one has to go away first. (It’s generally a good idea to have some extra space at all times in case I find something rare.)

This is a key part of enabling some of the benefits described earlier in the article, especially the idea of downsizing one’s home. A home with a lot of empty space is a very inefficient use of money as you have to pay to maintain, heat, and cool all of that space, so you’ll be money ahead by downsizing, but that doesn’t help if you’re going to immediately start filling all of that space again.

In short, unless the Konmari method of trimming down your belongings isn’t paired up with an ongoing strategy for minimizing additional purchases, you’ll end up right back where you were and you’ll have spent a lot of money on stuff that doesn’t “spark joy” along the way.

So, what’s the take-home? The method works well for decluttering, and if you’re smart about it, you can translate that decluttering into some money in your pocket and the possibility of a home downsize that will put a ton of money in your pocket. However, when you’re done decluttering, there’s a strong temptation to fill empty space with fresh stuff, which is inherently expensive. You need to adopt a strategy for this, and I find that a “one in, one out” strategy is really good.

Good luck!

The post Some Thoughts on Marie Kondo appeared first on The Simple Dollar.


Source The Simple Dollar http://bit.ly/2Gedchy

How to Start Paying Down Credit Card Debt Without Making Major Spending Cuts

So you have some credit card debt…

Don’t we all these days? We’re not trying to be flippant, but the data paints a picture: More than one-third of Americans have a lingering balance (more than $2,500, on average) on their credit cards despite making monthly payments, according to a Penny Hoarder analysis of Federal Reserve survey data.

What can we do?

Drastically cut spending? Adhere to a strict budget? Never have fun again?

Actually… there is one thing you can do. It’s pretty simple, takes very little time and won’t require you to change your lifestyle.

Say whaaatttt?

Yup! Look into consolidating your credit card debt.

What’s that mean?

It means you’ll take out a personal loan to pay off your outstanding balance(s). The idea is to get a loan that has a better (lower!) interest rate than your credit cards. You’ll wind up paying less in interest over time or even pay off your debt faster.

Not sure where to look for such a loan?

Credible is an online marketplace that will provide you personalized loan offers. It’s best if you have a good credit score (think: around 640 or higher), and it lets you quickly compare rates without visiting a bunch of sites and getting flooded with emails and phone calls.

Rates start at 3.99%. You can check yours by entering a loan amount here (up to $100,000) and comparing your personalized options in less than two minutes.

At first, it might not seem like this will make a huge difference, but Katherine, for example, faced $12,000 in credit card debt. The 15.24% interest rate kept her from chipping away at the principal. So she chose to consolidate with a 5%-interest, seven-year personal loan.

Over time, she wound up saving $12,000 in interest.

Carson Kohler (carson@thepennyhoarder.com) is a staff writer at The Penny Hoarder.

This was originally published on The Penny Hoarder, which helps millions of readers worldwide earn and save money by sharing unique job opportunities, personal stories, freebies and more. The Inc. 5000 ranked The Penny Hoarder as the fastest-growing private media company in the U.S. in 2017.

The Penny Hoarder Promise: We provide accurate, reliable information. Here’s why you can trust us and how we make money.


source The Penny Hoarder http://bit.ly/2WyBoki